


A bespoke media wall, designed around the AV
Most media walls are designed as joinery first, with the television dropped into whatever space is left. Our approach to media wall installation starts from the other end. A luxury media wall has to hold a screen at the right height and size for where you sit, hide the equipment that drives it, give that equipment air, carry speakers or leave room for them, and still let an engineer reach every cable years later. Those decisions shape the joinery, so they need making before the joiner draws a line.
Our part is the AV: the screen, the sound, the lighting scenes, the control and the cable plan that ties them together. The joinery itself is built by your joiner or cabinet maker. We work with them, your builder and your interior designer, give them the dimensions, cable routes and equipment requirements they need, and agree the positions with them before anything is closed in. If you do not have a joiner yet, we can talk through what the wall needs so you can brief one.
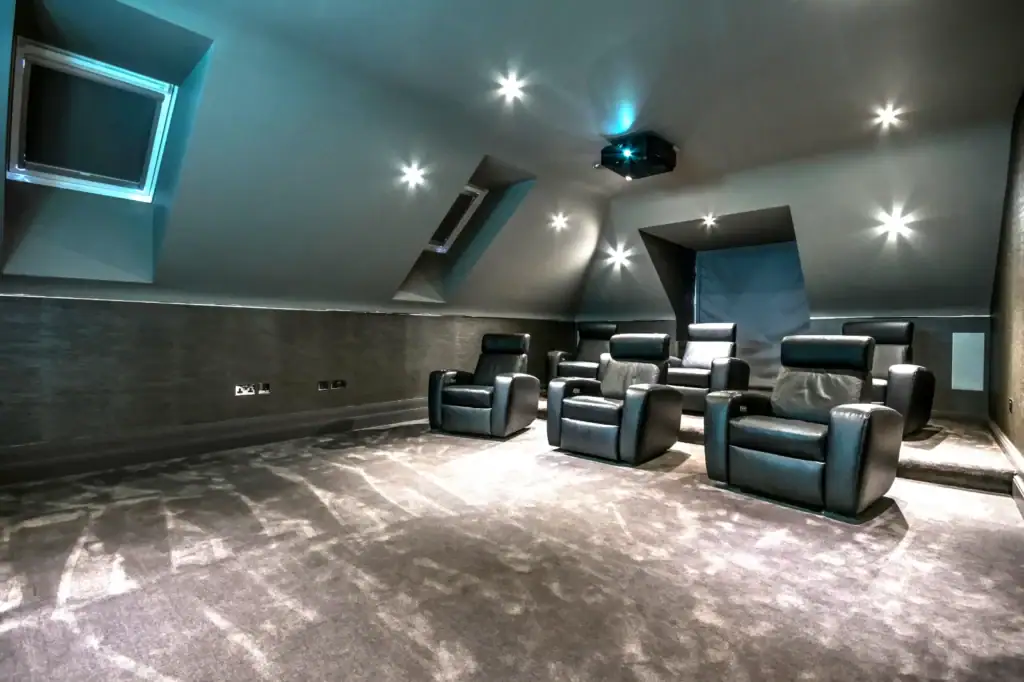
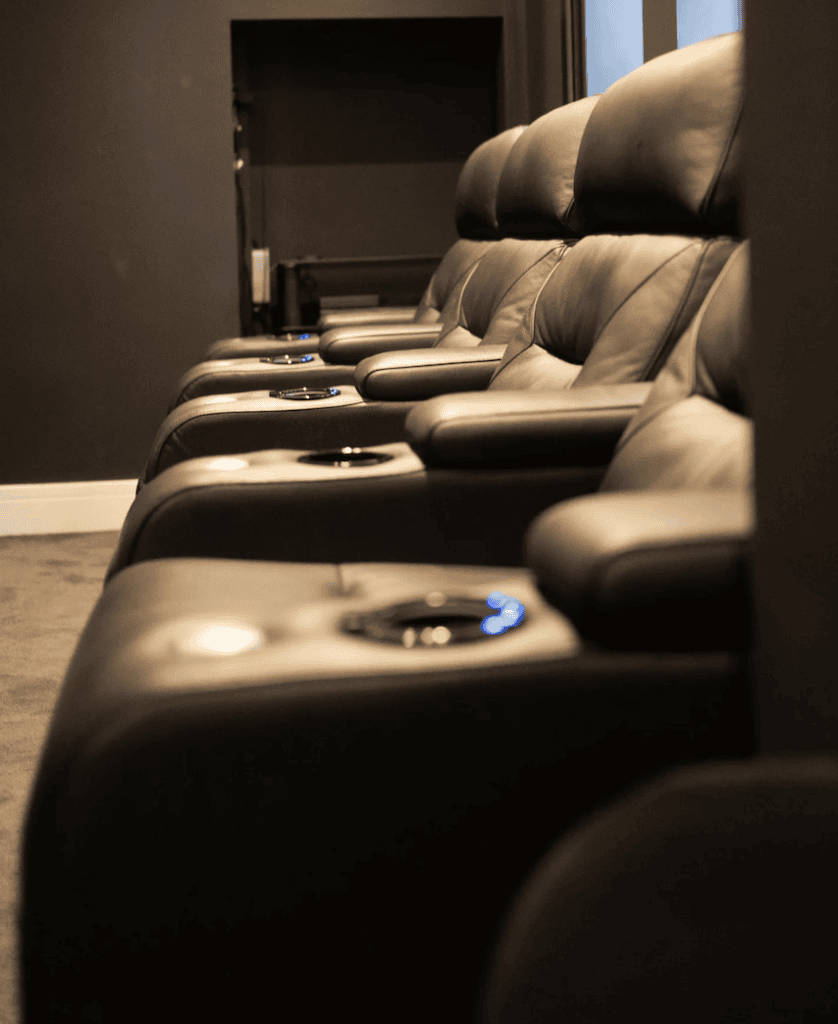
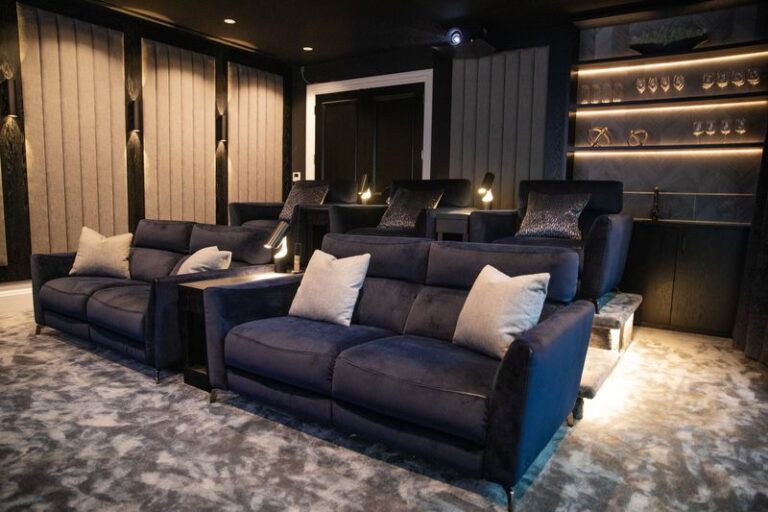
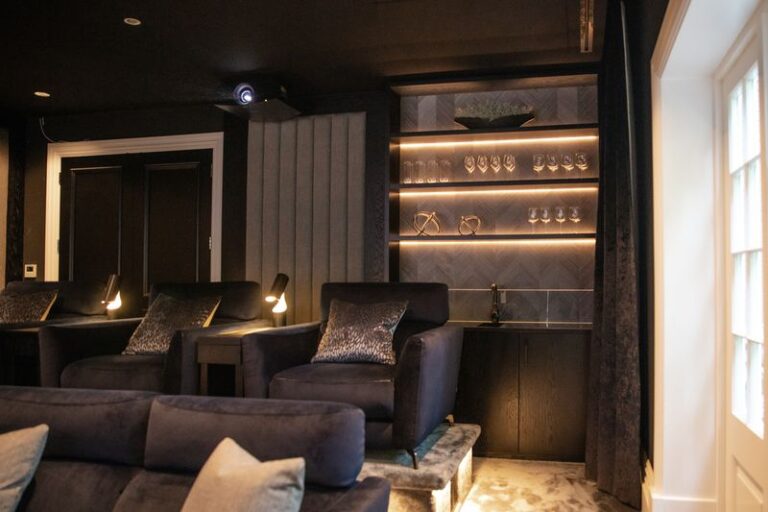
A media wall is often the heart of a media room, the multi-use space that handles films, sport and family evenings. Where the room is going to be a dedicated cinema, the screen and speaker positions come from our home cinema design process instead, with the seating and sightlines worked out first.
Concealed cabling and ventilated equipment
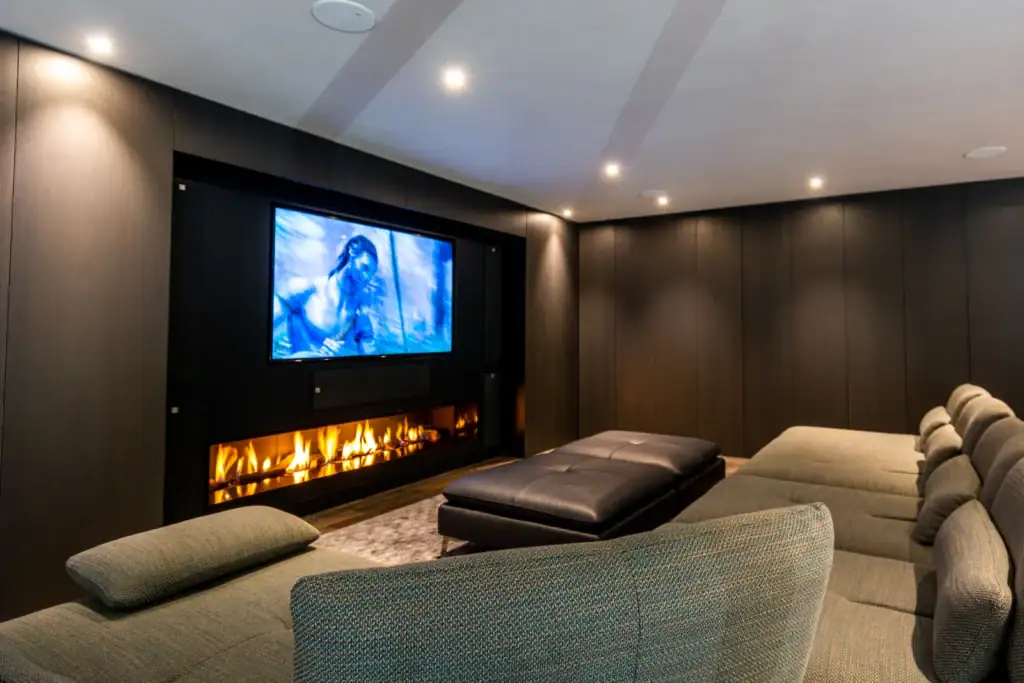
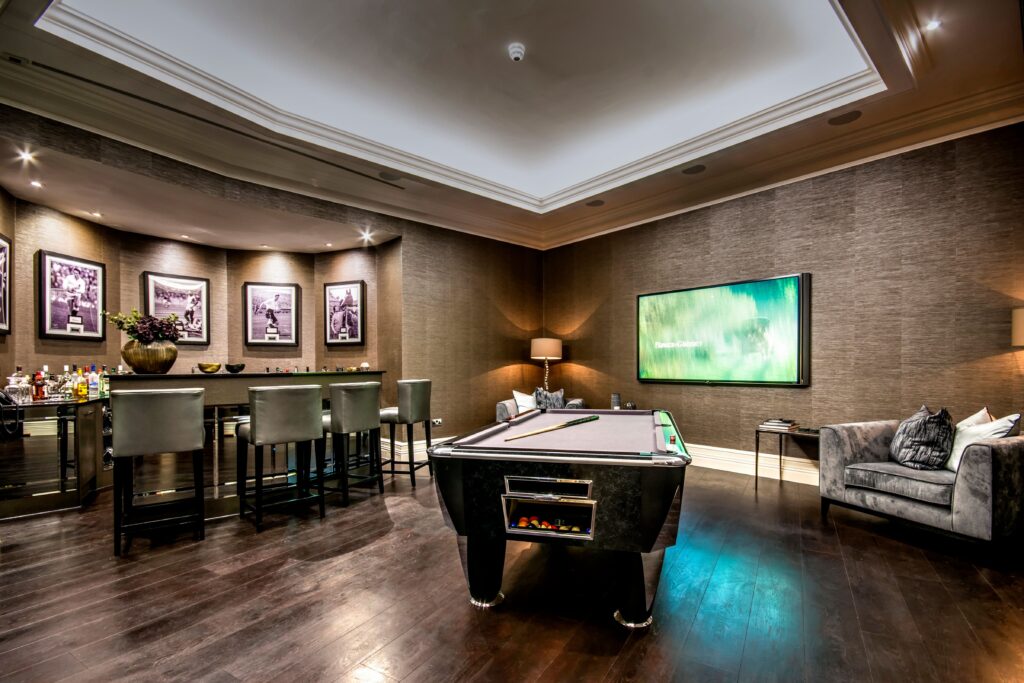
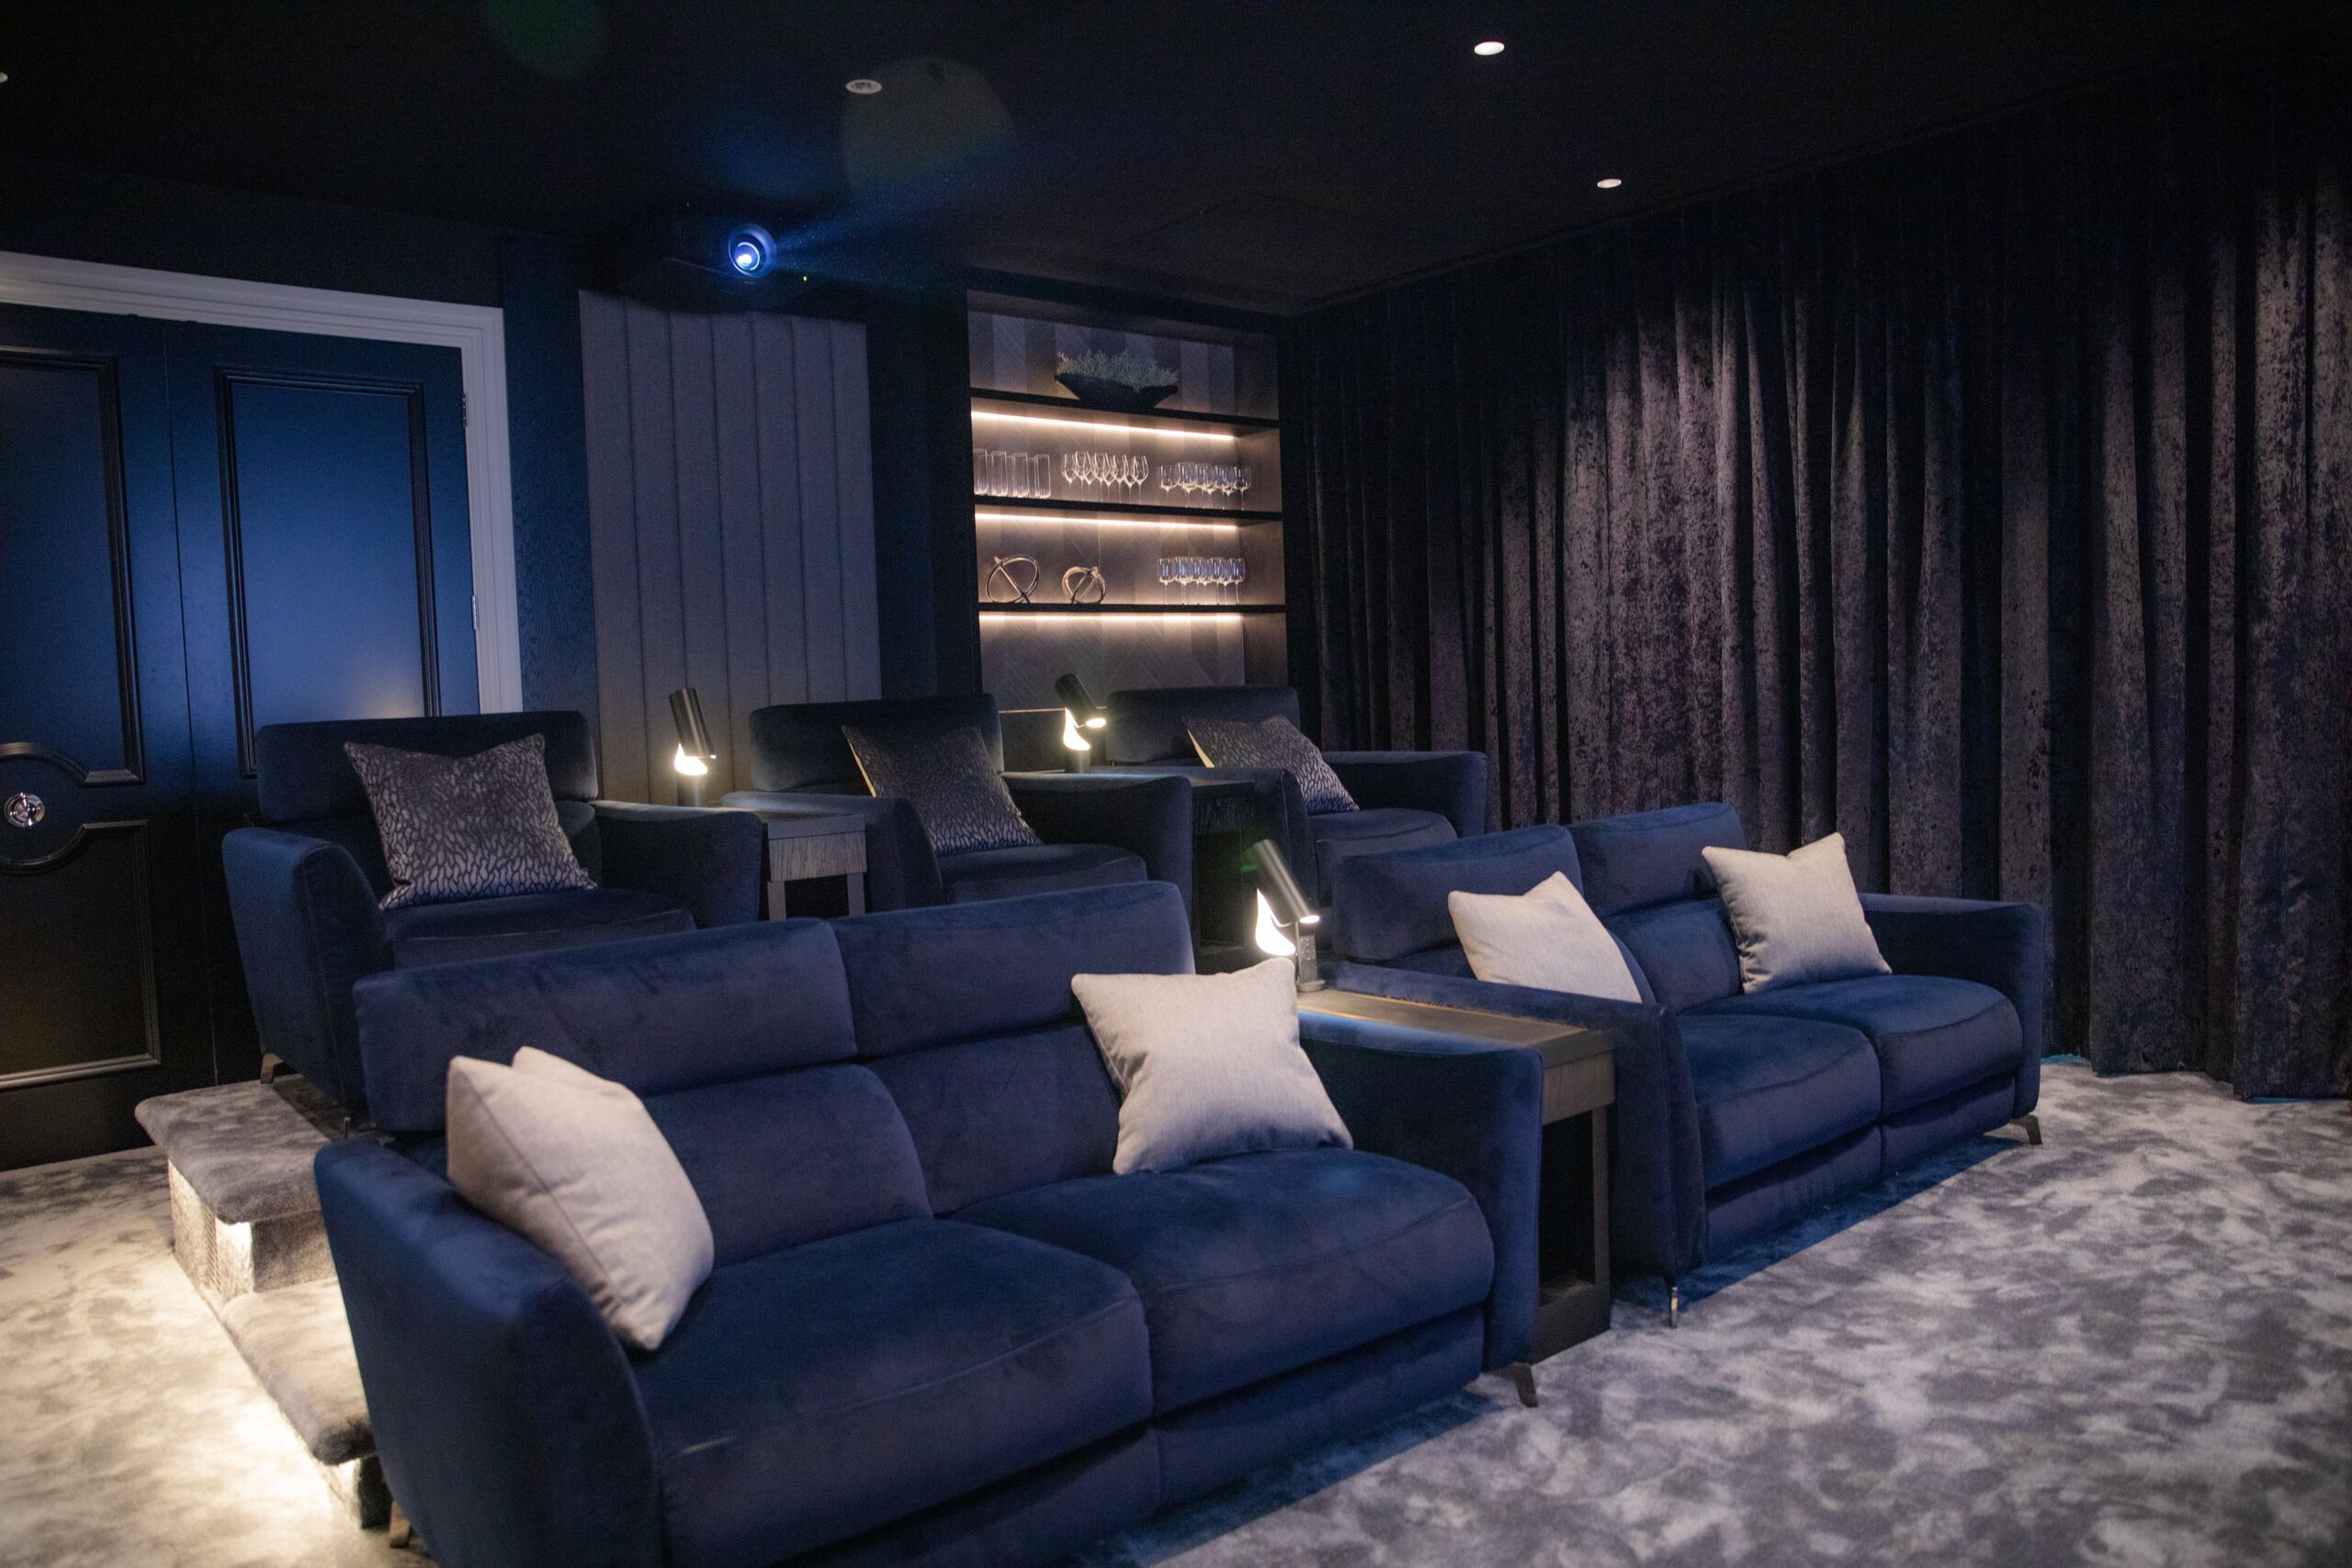
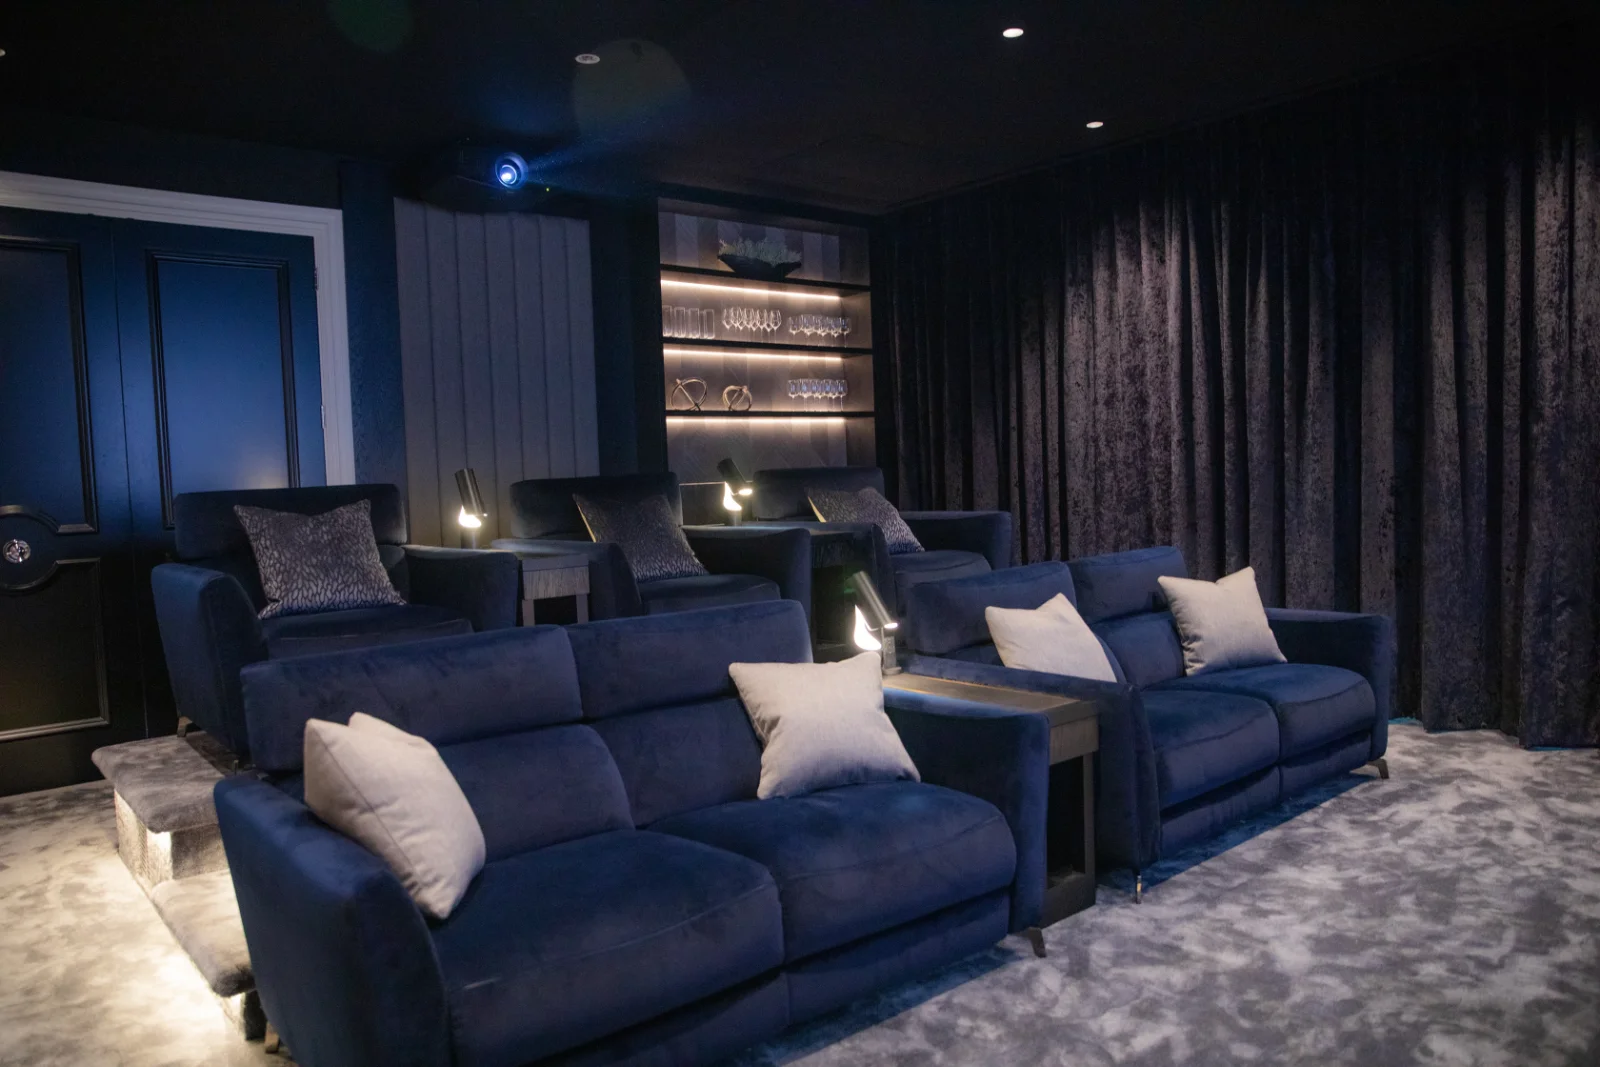
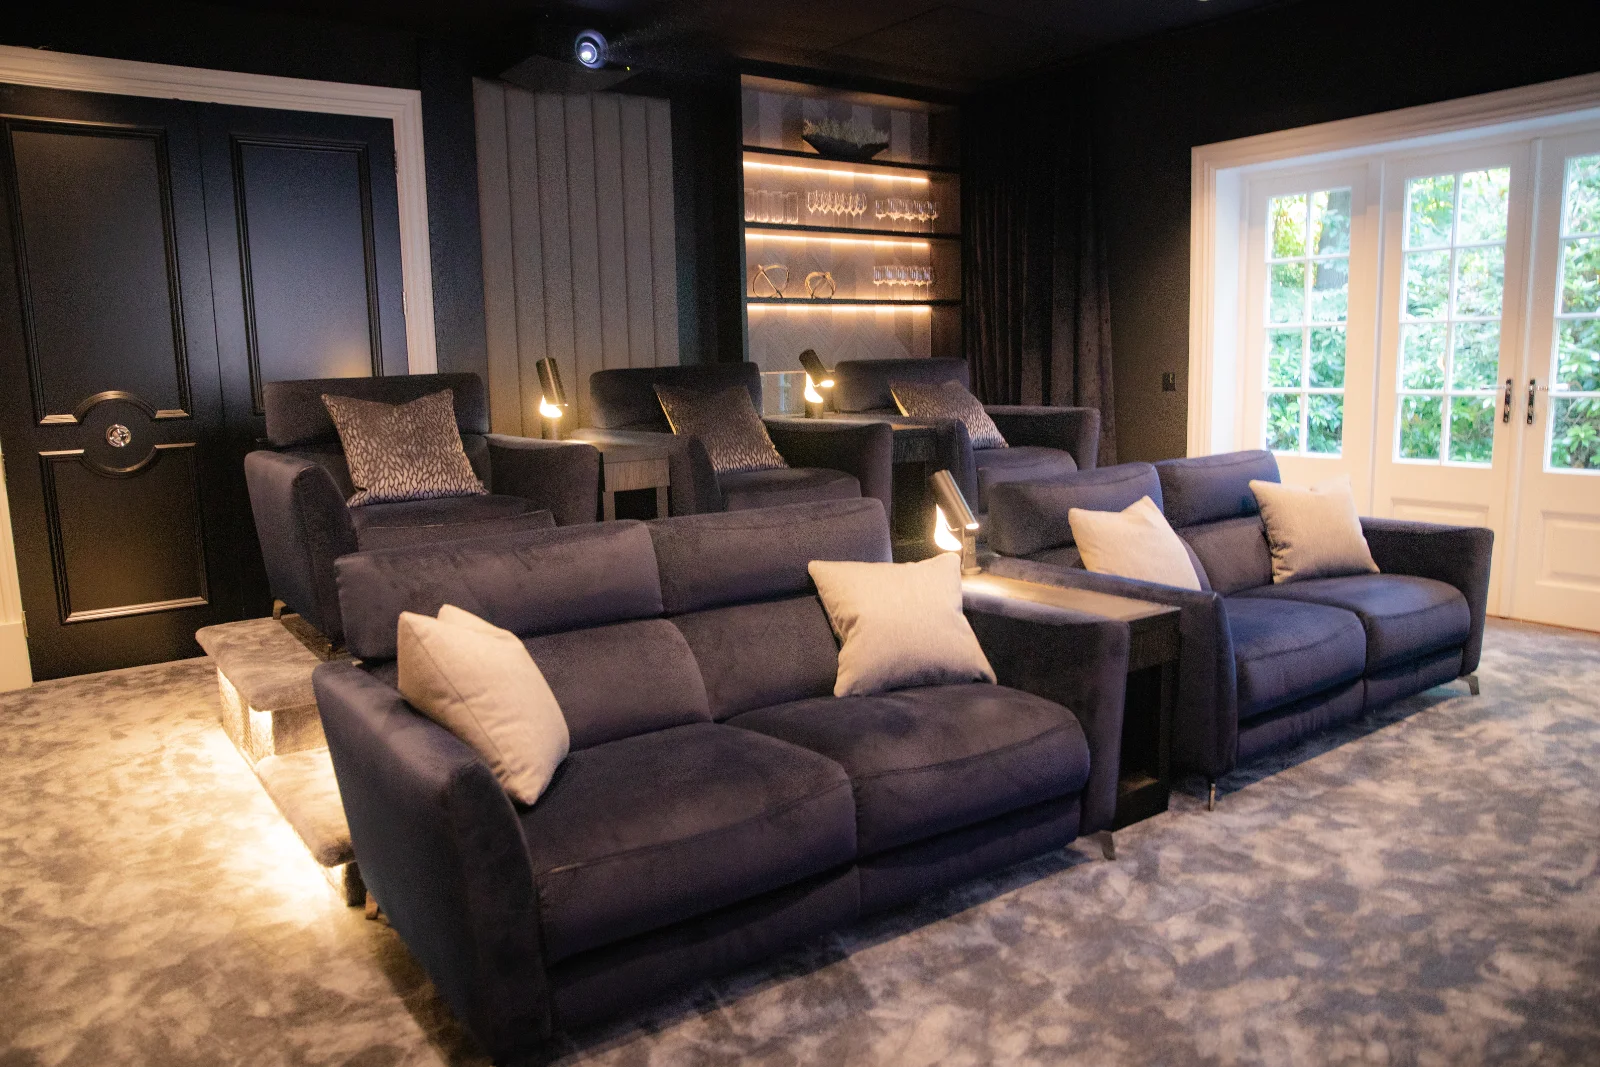
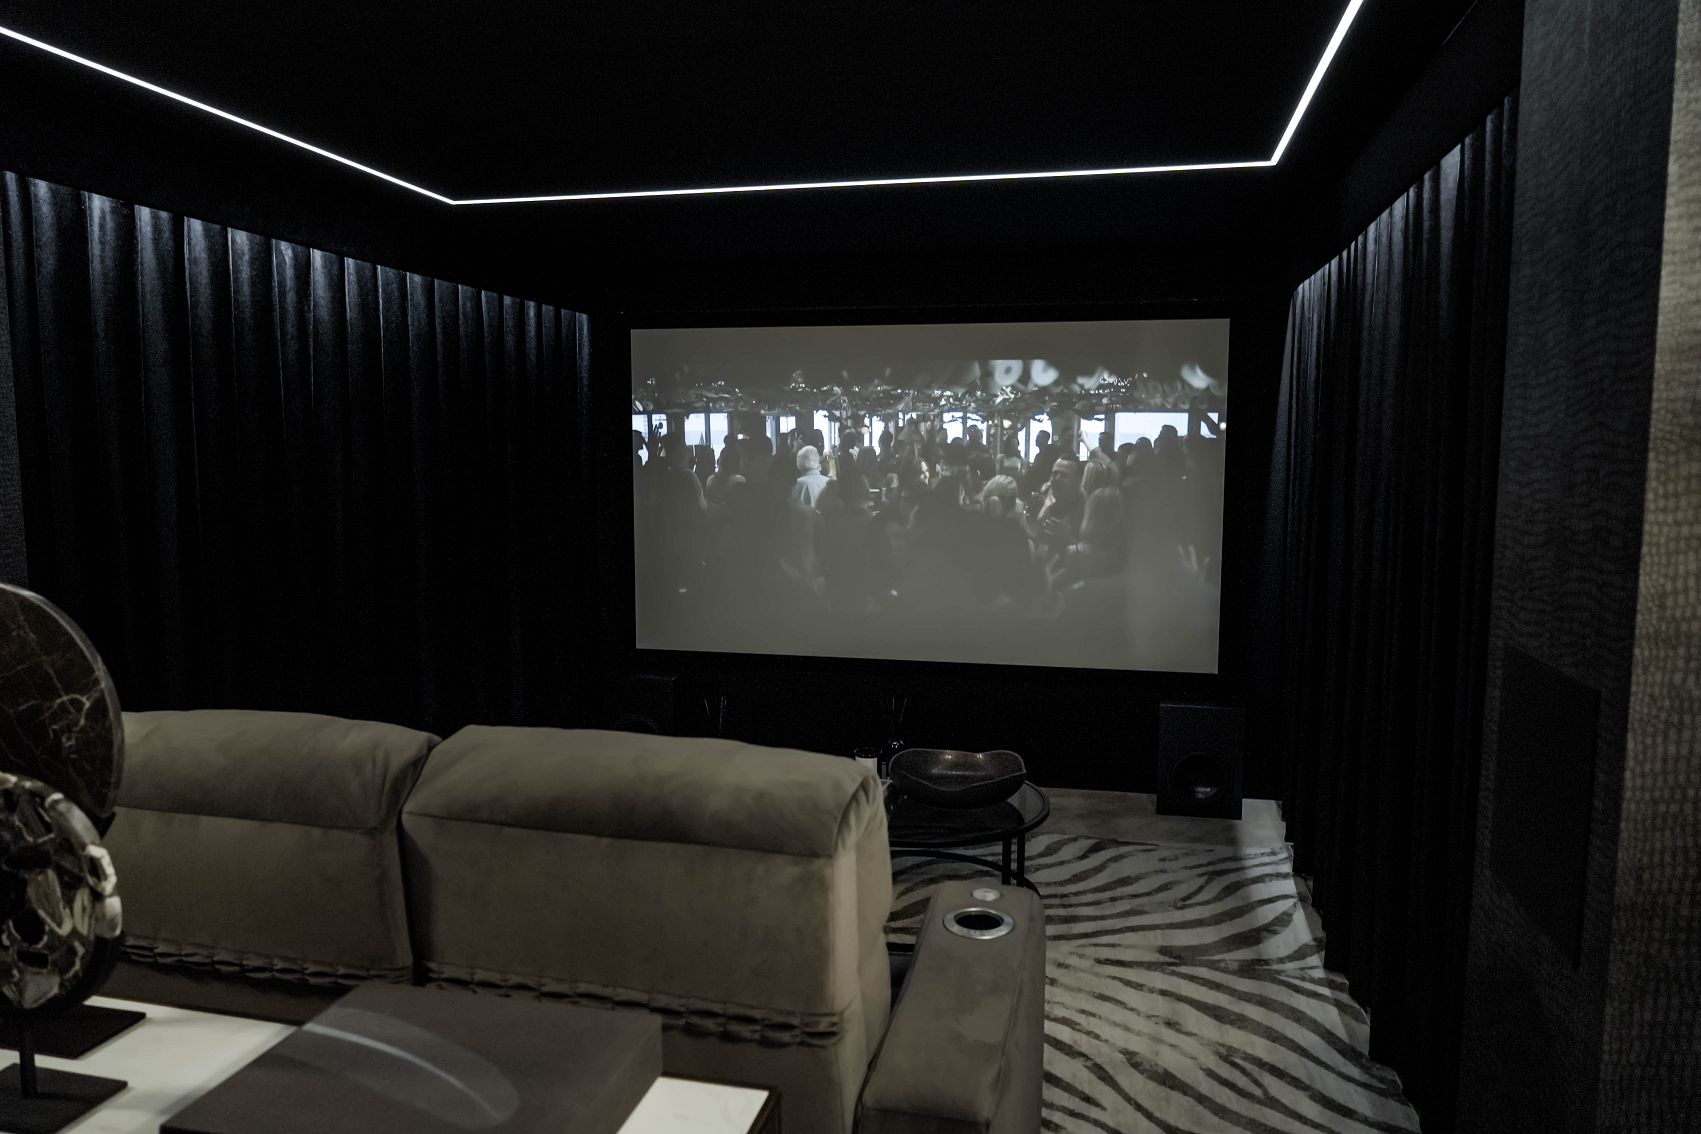
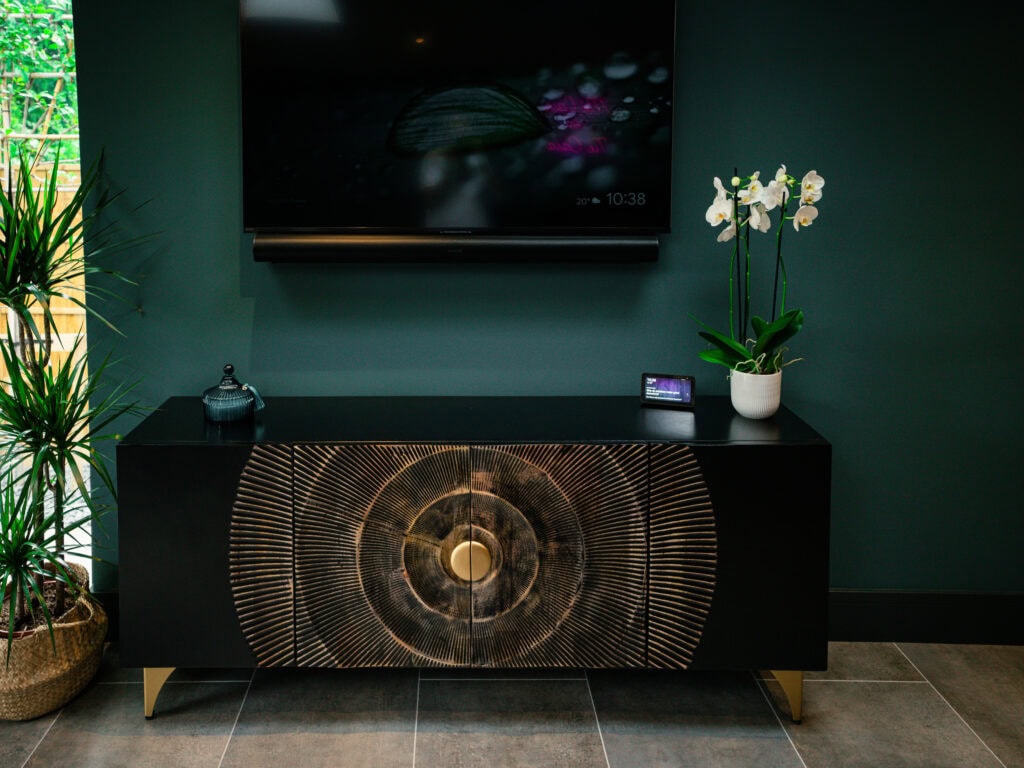
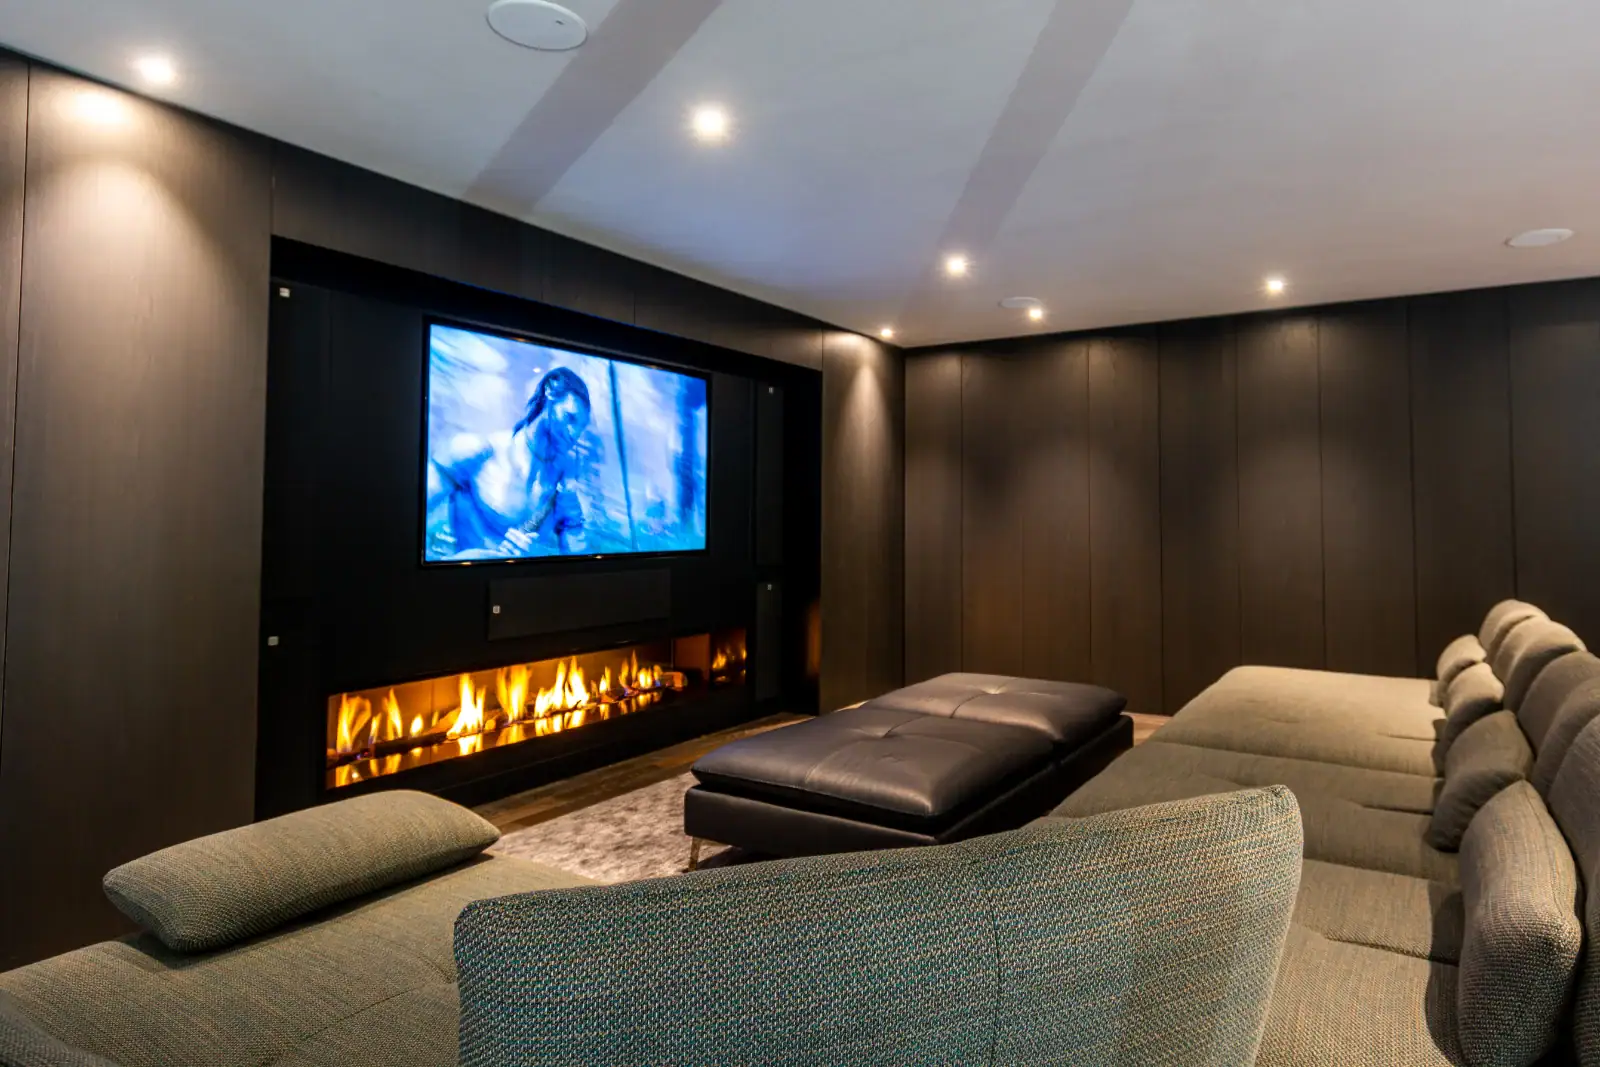
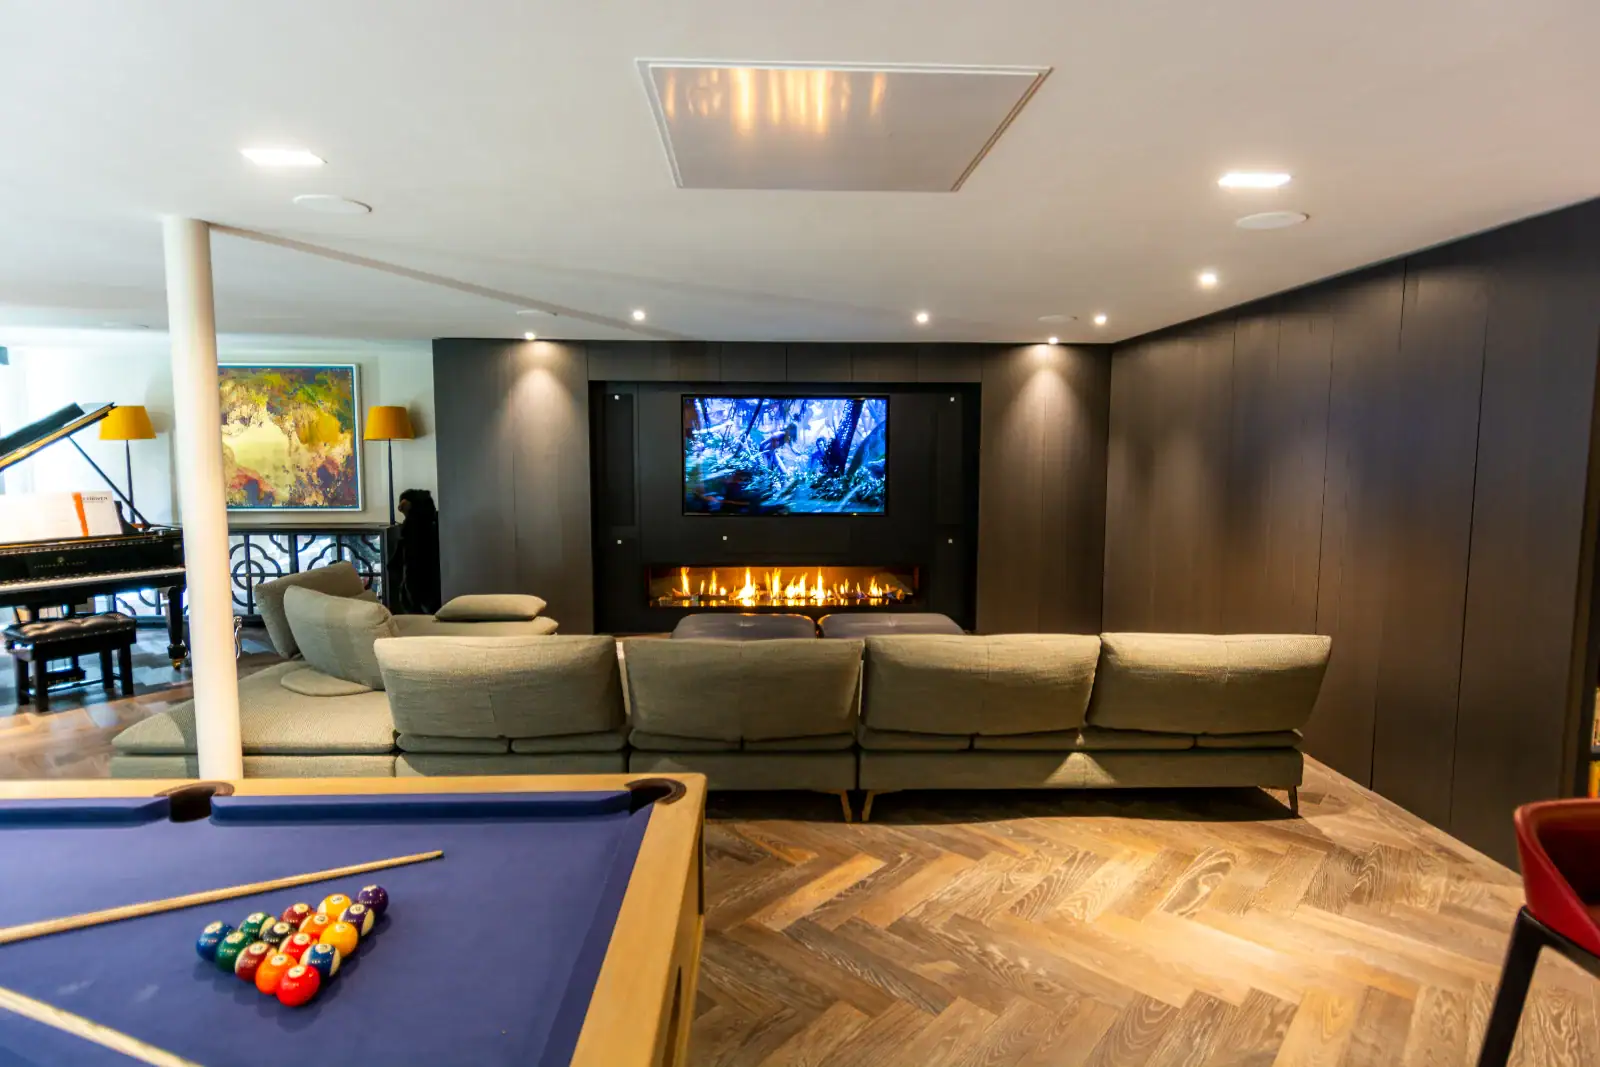
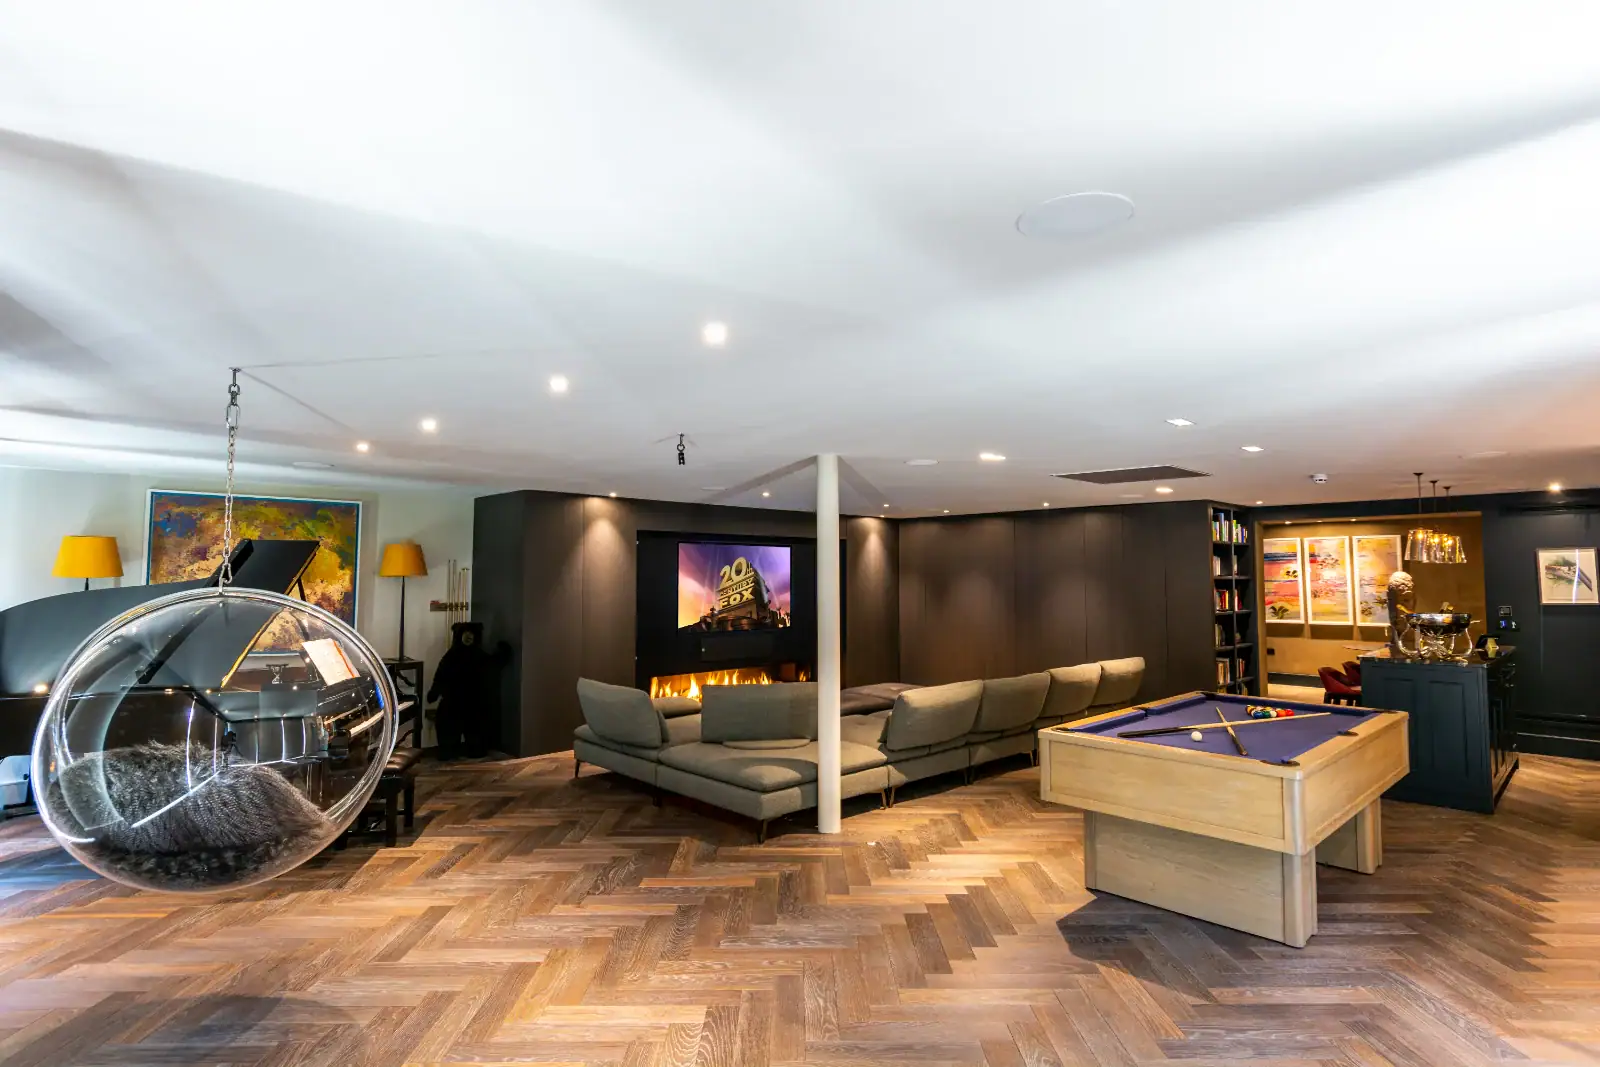
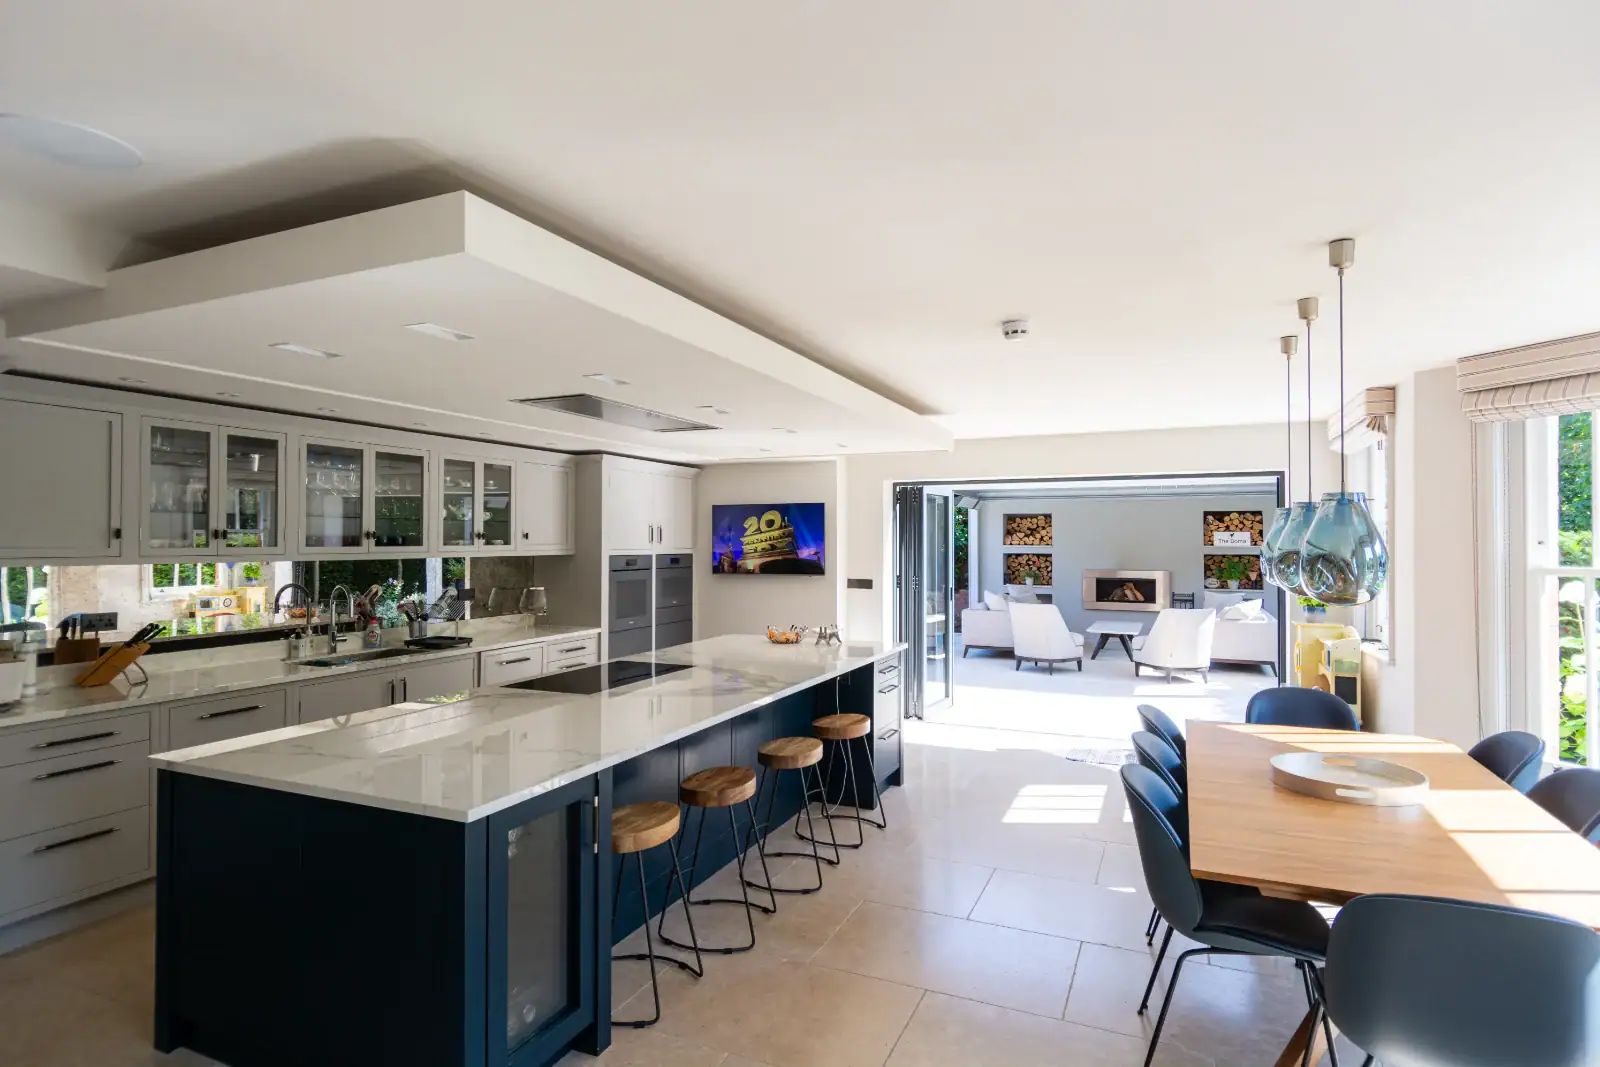
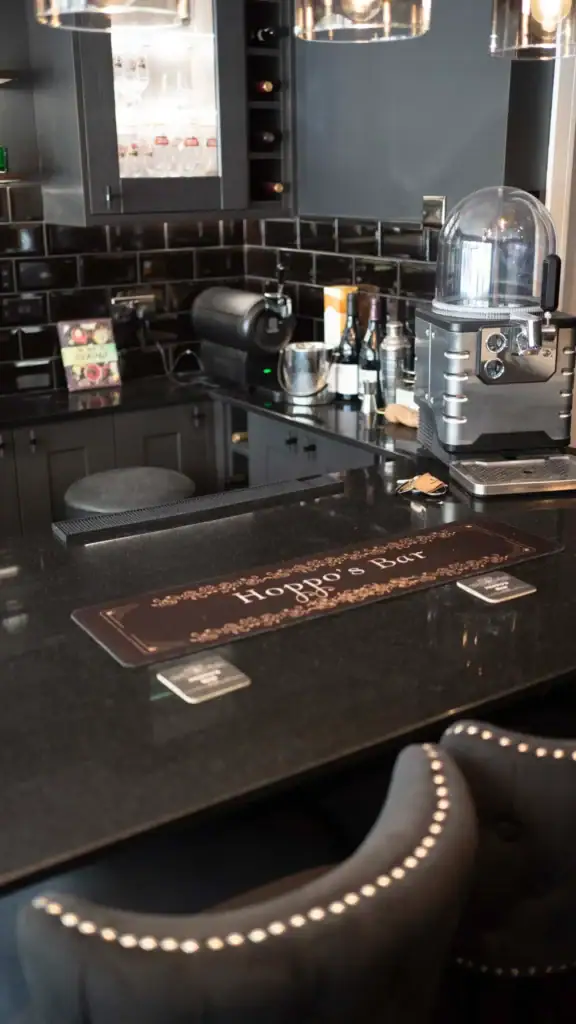
The test of a media wall is what you cannot see: no cables trailing to the screen, no boxes on a shelf, no standby lights in the corner of your eye. In our Epsom media room and sports bar, the AV equipment was concealed within a storage solution and the 85 inch Sony TV was recessed for a sleek finish. In Esher, every cable and component was concealed, so the room keeps a clean look when the cinema is not in use.
Getting there is a planning job. We draw the cable routes from the screen, the speakers and any projector back to one equipment position, with spare capacity for the next upgrade, and agree the containment with your electrician and joiner before plastering. The equipment position matters as much as the routes. AV receivers, amplifiers and streamers produce heat, and a sealed cupboard will cook them, so the joinery needs a path for air in and out, sized for the equipment going in, and a door or access panel that lets an engineer reach the back of every unit without taking the wall apart.
Where the wall cannot take the equipment, it can live somewhere else, such as a cupboard under the stairs or a small rack in a plant room, with the cables run back to the wall. That also keeps the wall slimmer, which helps in a room that is short of depth.
The TV: recessed, flush or hidden
A TV media wall usually comes down to one question: how far into the wall should the screen sit? A recess lets the front of the TV sit close to the face of the joinery, so it reads as built in rather than hung on. It also takes depth, for the screen and for the bracket, power and cable behind it, so we confirm the exact model before the joiner sets the opening. Screen dimensions change between model years, and an opening cut for one 85 inch set may not fit the next.
We install Samsung, Sony and LG screens, including OLED models, and the right one depends on the light in the room, how you watch and how slim the set needs to be. In Epsom, the brief was a modern, high-end look in a narrow room, so we recessed an 85 inch Sony TV and arranged the seating so everyone has a clear view of the screen.
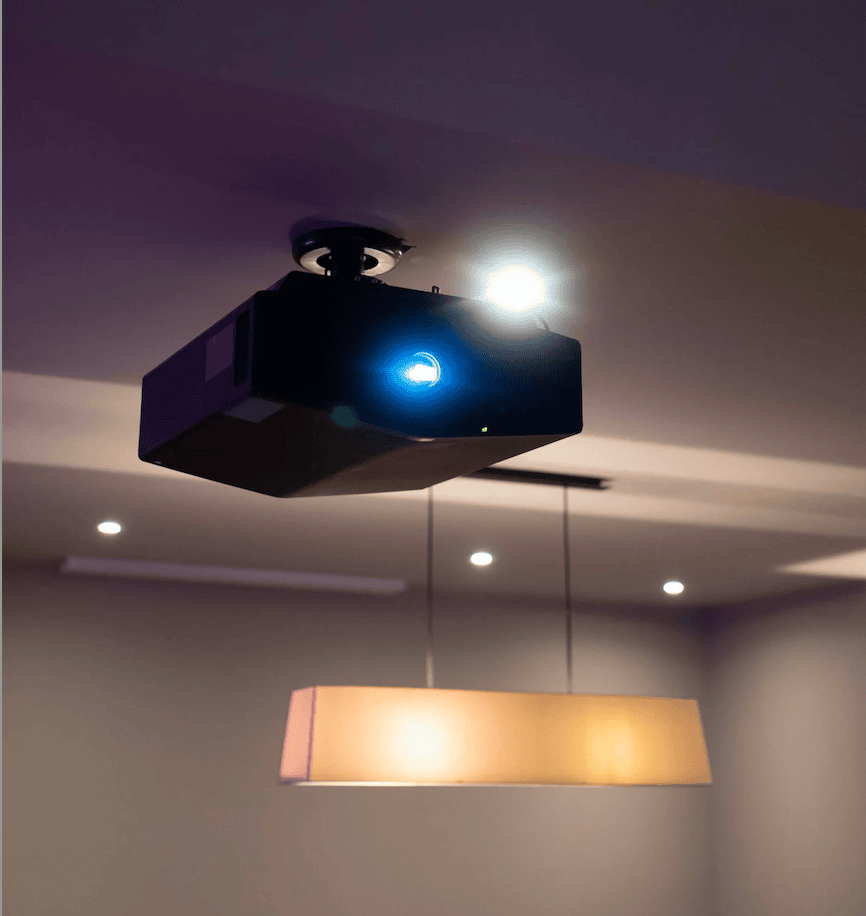
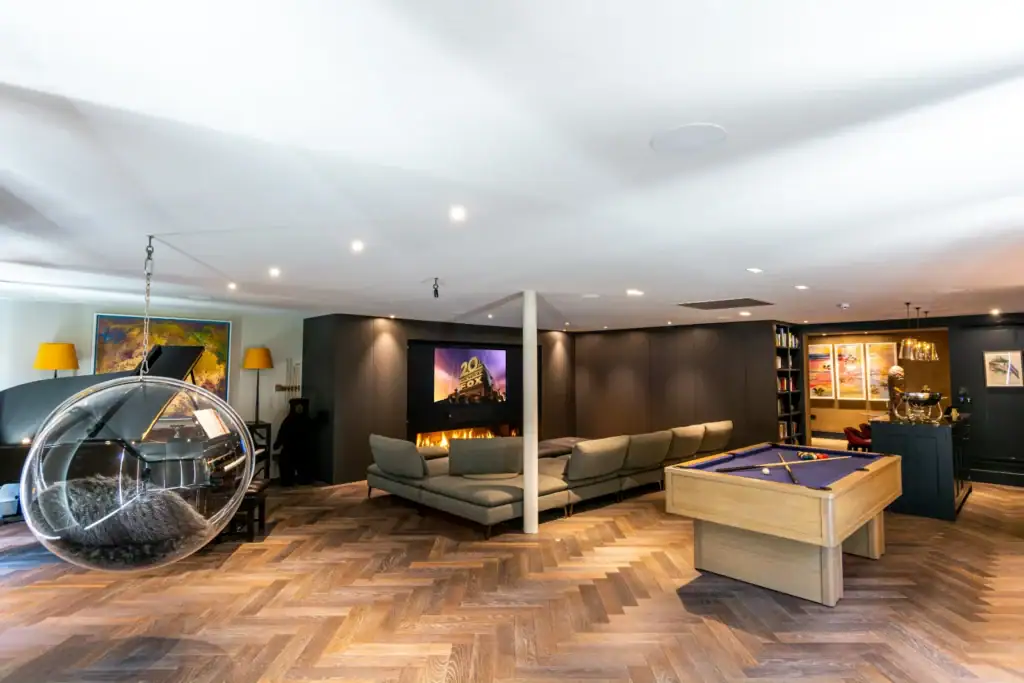
A media wall can also hide a cinema. In Esher, an 85 inch Samsung TV is the everyday screen. For film nights, a Draper motorised 120 inch screen drops in front of it and a projector lowers from a Future Automation lift, and both disappear into the ceiling again at the touch of a button. Planning that means leaving room in the ceiling for the screen housing and the lift, and a clear path for the projector, which is far easier on a drawing than after the ceiling is finished. Our guide to choosing a projector or a TV covers the trade-offs.
See our Samsung and LG pages for screens that suit a media wall, including Samsung's The Frame.
In-wall and invisible speakers
Speakers are the part of a media wall most often left until last, which is why so many walls end up with a soundbar on a shelf. Building them in from the start gives better sound and nothing to look at.
At the front of the room, in-wall speakers sit either side of the screen, with a centre speaker below or above it, at the positions the sound needs rather than wherever the joinery happens to leave a gap. KEF makes its Ci range for this kind of installation. Its Ci-T Series needs only 36mm of mounting depth, and its Flush Mount models are designed to sit level with the wall, both useful where a media wall has to stay slim.
If you would rather see no speakers at all, Sonance Invisible Series panels are set flush and finished over, so the wall looks plain. Sonance names wood veneer, leather and wallpaper among the finishes its panels can sit behind, as well as drywall and select plasters, which opens up joinery as well as walls. The trade-off is timing: invisible speakers go in during the build, before the final finish, and cannot be moved afterwards. Our Walton-on-Thames showroom has Sonance invisible speakers playing, so you can judge them by ear before you decide.
Behind all of it sits the amplifier or AV receiver in the equipment position, with a cable from every speaker back to it, which is one more reason the cable plan comes first.
Media walls with acoustic panels
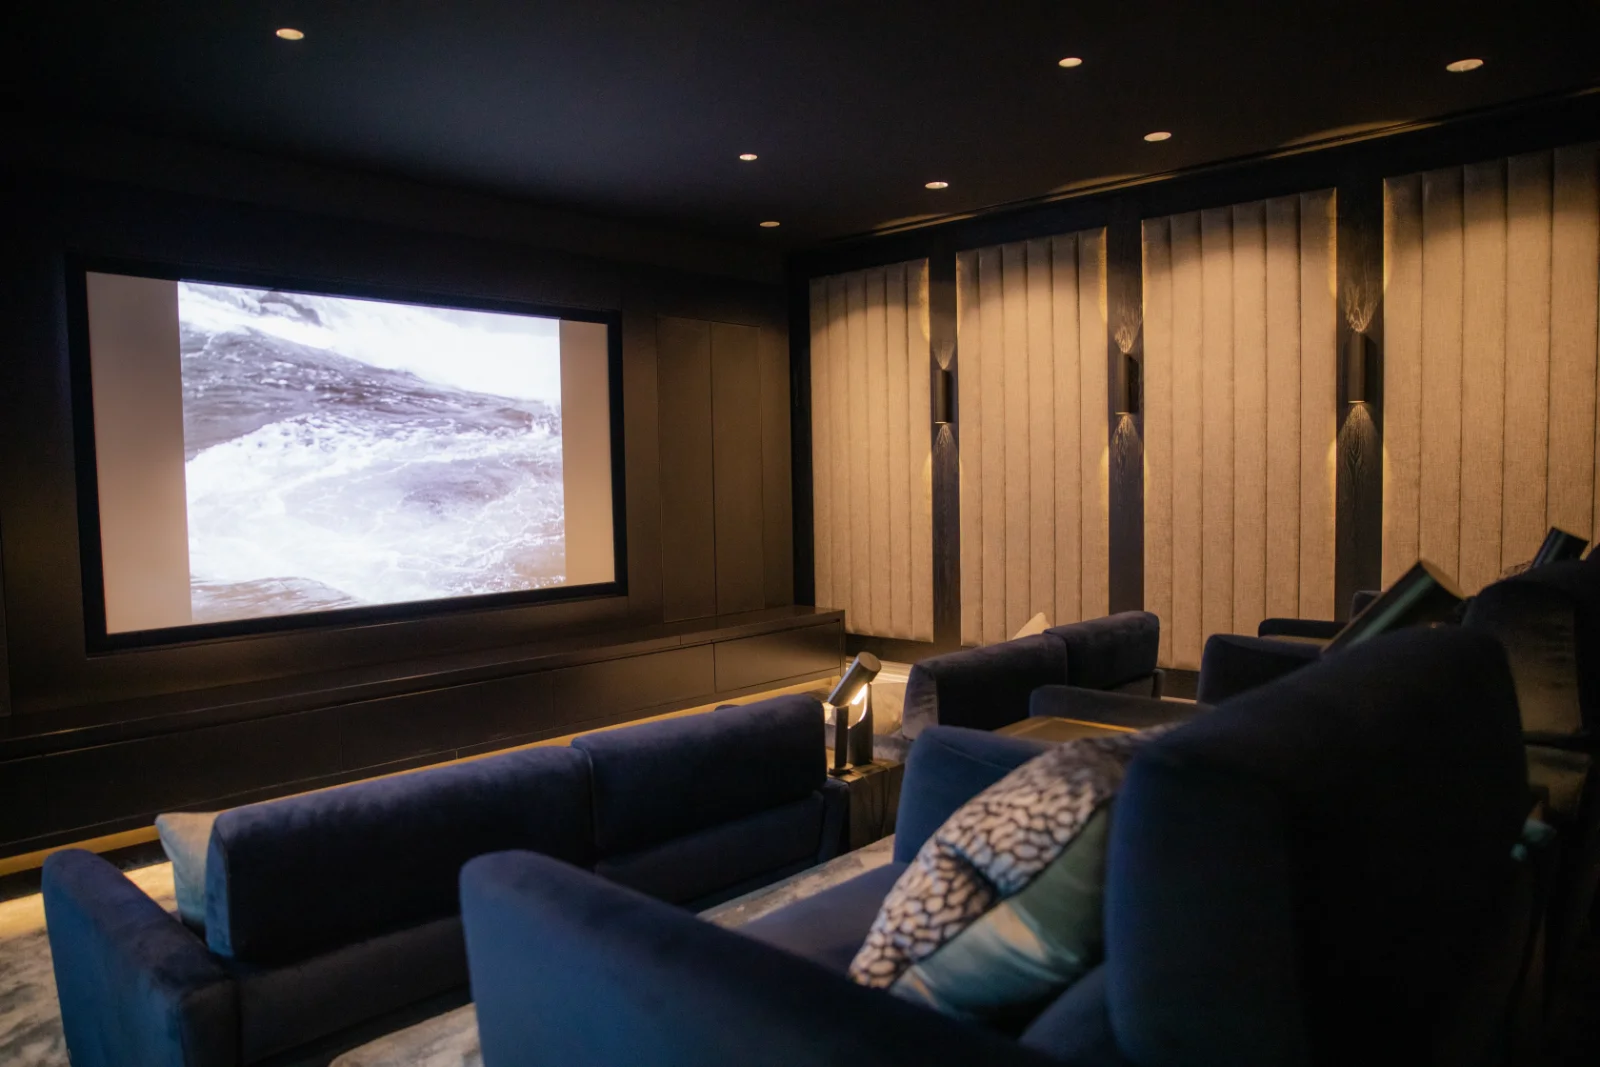
A wall of hard joinery and glass-fronted cabinets reflects sound straight back into the room, and a large flat screen adds another hard surface. The result is harsh dialogue and an echo that no speaker upgrade will fix. A media wall with acoustic panels built in, or with panels on the walls around it, absorbs those reflections and makes speech clearer at normal volume.
In our Epsom media room, the family's main complaint about the old setup was poor sound clarity, so we incorporated acoustic panelling alongside a 5.1 surround system on an Anthem receiver. In Esher, where the cinema shares an open-plan room with a bar, we integrated acoustic treatment into the design to cut unwanted echo without the room looking like a studio.
In a media wall, panels can be fabric-wrapped and set into the joinery as part of the design, finished to match the interior rather than stuck on afterwards. Their position matters. The first reflection points on the side walls, and the wall behind the seats, often do more than panels on the media wall itself, so we work out where treatment helps before the joiner fixes the layout. Acoustic treatment is a different job from soundproofing, which stops sound reaching the rest of the house; our guide to acoustic treatment and soundproofing sets out the difference.
Lighting scenes and one-touch control
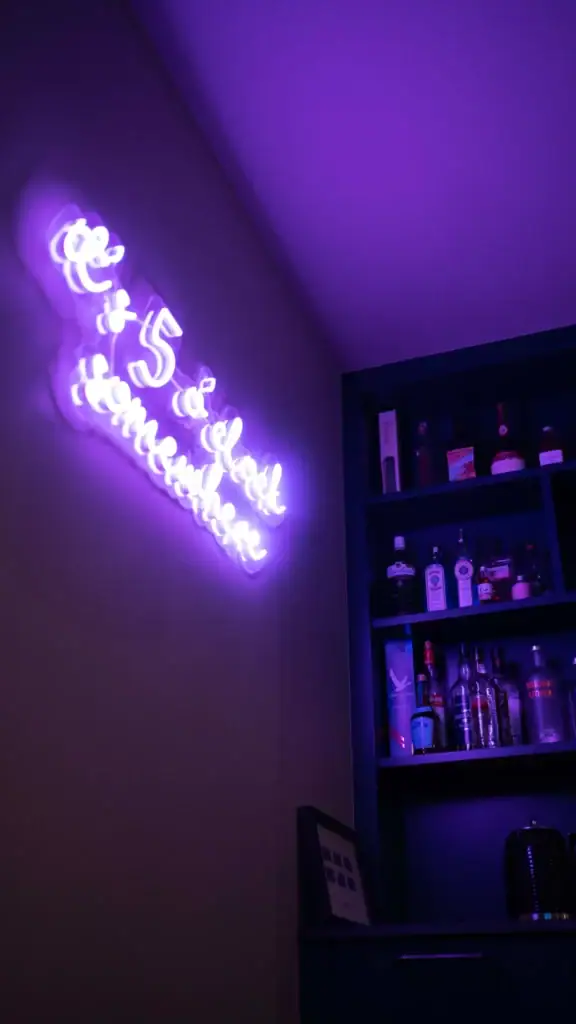
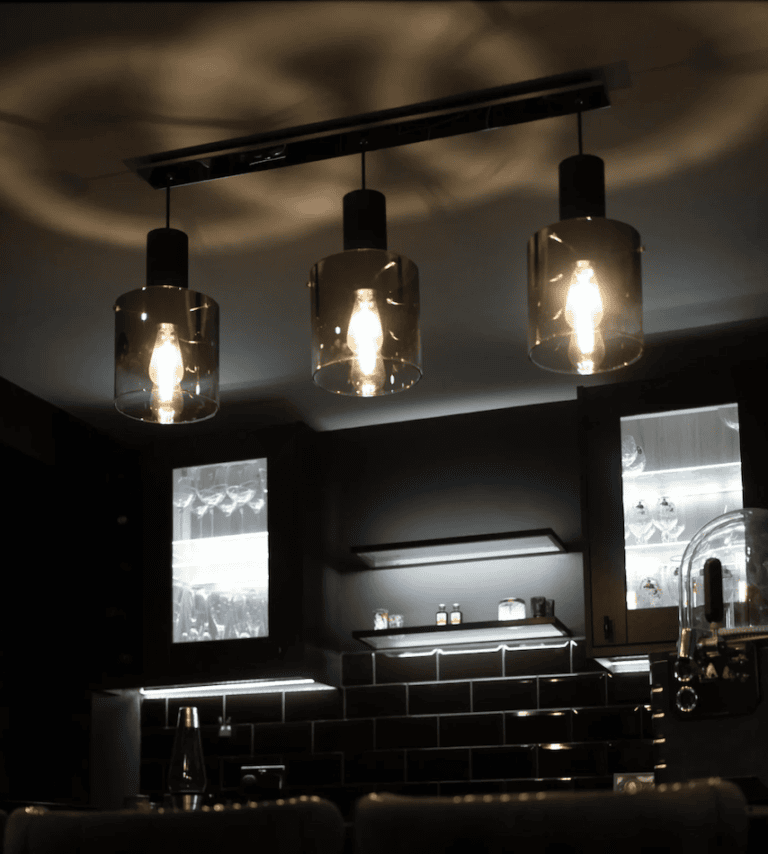
A media wall looks its best when the lighting is designed with it: a soft wash across the joinery, accent lighting in the shelves, and downlights that dim when the screen comes on. With lighting control, each of those becomes part of a scene, so one press sets the whole room for a film, a match or a party.
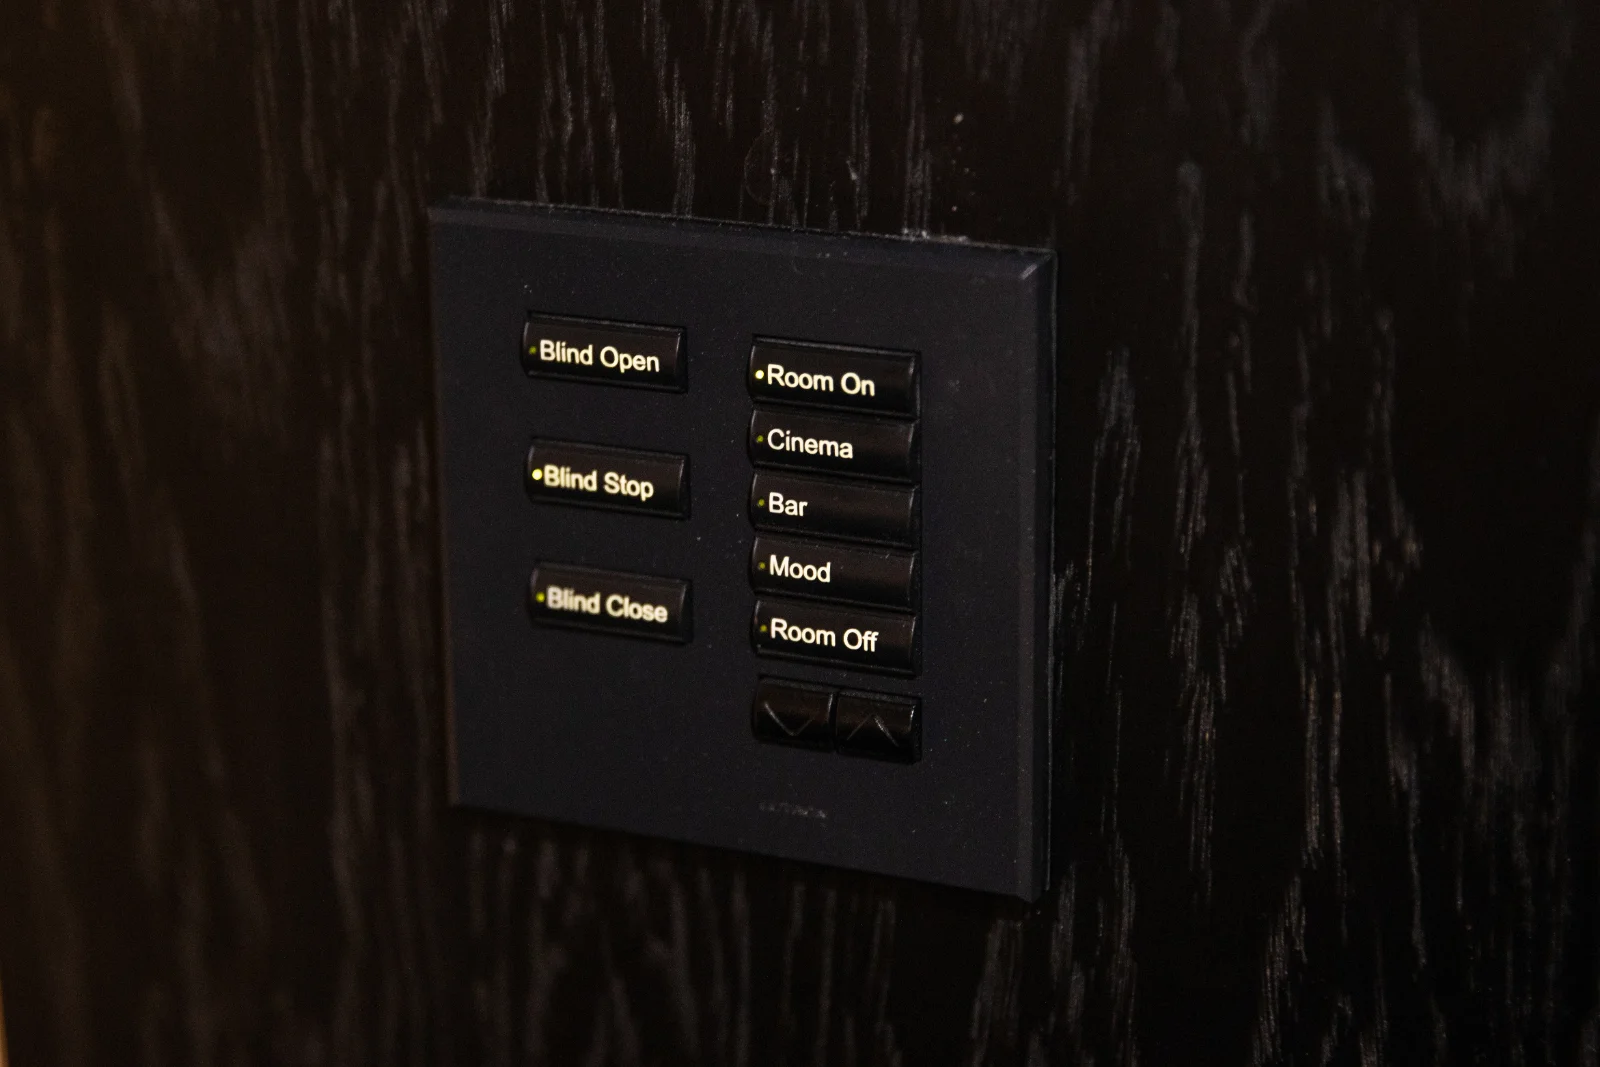
In Epsom, we installed a Lutron RA2 lighting system, and the family set the brightness and colour of the LED lighting from the same control pad that runs the AV and the QMotion blackout blinds. In Esher, Control4 lighting zones move the room between party, relaxed viewing and cinema, and choosing cinema mode brings the projector and screen down. Our Lutron lighting control page explains the Lutron systems we install.
Control is what makes a media wall easy to live with. A Control4 system puts the TV, the sound, the lighting and the blinds on one remote, a touchscreen or the app, so nobody needs to know which box does what. The same system can send music and video to other rooms through multi-room AV, and guests can use the room without a lesson. As the Esher client put it:
“The picture quality is breathtaking, the sound is immersive, and the entire system blends perfectly into the space.”
Homeowner, Esher